Step-by-Step Guide: Using an Asphalt Calculator for DIY Driveway Repairs

How to maintain Asphalt Properly

Introduction

So, your driveway’s looking rough? Cracks, potholes, maybe even some chunks missing? You’re not alone. Over time, asphalt takes a beating—from the sun, rain, and all those cars rolling over it. Hiring a professional to fix it can be expensive, but here’s the good news: you can do it yourself if you have the right tools and know-how.

But here’s the catch. If you don’t calculate the amount of asphalt correctly, you’re in trouble. It is therefore crucial to learn “How to use Asphalt Calculator for Driveway Repair”. 

Why an Asphalt Calculator?You might be thinking, “Can’t I just eyeball it?” Nope, bad idea. Asphalt isn’t like paint or mulch—you can’t just guess and hope for the best. 

  • Real-life mistake: One of my neighbor thought he could “just estimate”. He ordered five tons for a small patch job. Turns out, he only needed two. That’s hundreds of dollars wasted!

With an asphalt calculator, you get precise measurements so you know exactly how much material to buy.

How This Guide Will Help

In this guide, I’ll walk you through every step of using an asphalt calculator the right way. We’ll cover:

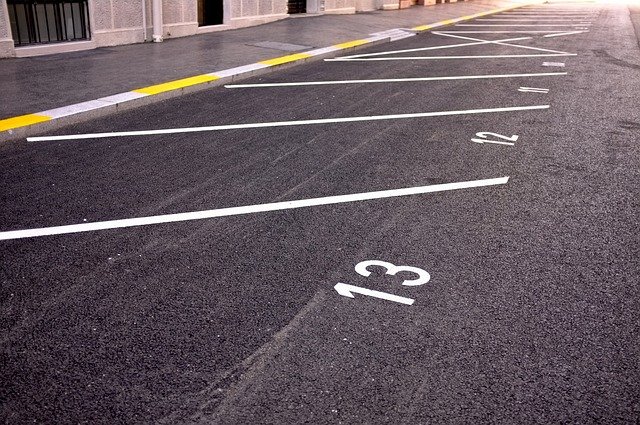
✔ Measuring your driveway correctly (because even a small miscalculation can cost you)
✔ How to use an online asphalt calculator (it’s easier than you think)
✔ Adjusting for waste and tricky areas
✔ Buying the right type of asphalt for your repair
✔ Tips for actually laying the asphalt properly

Step 1: Gather Measurements

Alright, before you do anything, you gotta measure the area you’re repairing. Sounds basic, right? But trust me, if you get this wrong, you’ll either run out of asphalt or waste money on extra material. So, grab your tools:

  • Measuring tape (or a wheel measure if you got one)
  • A notepad or phone to jot down numbers
  • Maybe even some chalk or spray paint to mark the area

Measure Length and Width. Start with the length. Just walk along the driveway, tape in hand, and measure from one end to the other. Now, do the same for the width. If your driveway is oddly shaped, break it into sections (like rectangles) and measure each separately. Don’t assume—always measure.

Determine the Thickness. This part really important. If your repair is just a small patch job, 2 inches thick might work. But if you’re laying fresh asphalt, 4-6 inches is more common. Thickness affects how much material you need, and if you calculate this wrong, your driveway might end up too thin and crack in no time.

  • Pro Tip: The pros at The National Asphalt Pavement Association (NAPA) recommend at least 3 inches of compacted asphalt for driveways that get daily use.

Account for Uneven Surfaces. Not all driveways are perfectly flat. If your area has dips or cracks, account for them. A thin layer of asphalt won’t magically fix a pothole. You might need extra material to fill deeper spots before laying the final layer.

This step might seem simple, but right measurements is the foundation of a good repair. Take your time, double-check, and write everything down.

Asphalt Calculator for Driveway Repair

Step 2: Understand Asphalt Coverage

So now you’ve got the measurements. Next what? Well, before you start ordering asphalt, you need to understand how it’s measured and spread. Asphalt isn’t sold in buckets or bags like cement—it’s measured in tons or cubic yards. 

How Asphalt is Measured. Asphalt is typically sold by the ton. But here’s the tricky part—one ton doesn’t always cover the same amount of space. It depends on how thick you’re laying it. The thicker the layer, the fewer square feet it will cover. Here’s a rough estimate:

  • 1 ton of asphalt covers about 80-100 square feet at 2 inches thick
  • 1 ton covers about 40-50 square feet at 4 inches thick

Example: Say your driveway is 20 feet long and 10 feet wide. That’s 200 square feet. If you’re laying asphalt 2 inches thick, you’ll need about 2.5 tons of asphalt. But if you’re going 4 inches thick, you’ll need 5 tons. Big difference, right?

Choosing the Right ThicknessSo how thick should your asphalt be? Well, it depends on how much traffic your driveway gets. If it’s just you and your family car, 2 to 3 inches might be enough. But if you’ve got trucks, RVs, or heavy loads, go thicker—4 to 6 inches is better.

Pro Tip: According to the National Asphalt Pavement Association (NAPA), a residential driveway should have at least 3 inches of compacted asphalt to last a long time. For heavier vehicles, they recommend 4 to 6 inches.

Compaction Matters. Here’s something most people don’t realize—asphalt shrinks when compacted. That means if you pour a 3-inch layer, after rolling it down with a compactor, it might end up being only 2.5 inches thick.

Why Density is important. Another thing that affects coverage is the type of asphalt mix. Some mixes are denser than others, which means they don’t spread as far. There are different asphalt grades:

  • Fine mix (smoother, better for driveways)
  • Coarse mix (stronger, better for heavy loads)

If you use a denser mix, you might need more tons to cover the same area. If you’re unsure, ask your supplier. They’ll tell you the best mix for your project.

Step 3: Input Data into an Asphalt Calculator

Alright, now it’s time to get precise. That’s where an asphalt calculator comes in. This handy tool takes the measurements and tells you exactly how much asphalt you need—saving you time, money, and frustration.

But hold up—not all calculators are the same. Some give results in tons, others in cubic yards, and a few even account for waste. Let’s break it down step by step.

Choosing an Asphalt Calculator. There are tons of free asphalt calculators online, but you need to pick the right one. Look for one that allows you to input length, width, and thickness—not just area. Some of the best ones are:

Entering Your Measurements. Once you’ve picked a calculator, it’s time to plug in your numbers. Here’s how:

1️⃣ Enter the length of your driveway or repair area in feet
2️⃣ Enter the width in feet
3️⃣ Enter the thickness in inches (usually 2–6 inches)

The calculator will then do the math and give you a result—usually in tons or cubic yards.

Example: Let’s say your driveway is 20 feet long and 10 feet wide, and you want a 3-inch thick asphalt layer.

  • Enter 20 in the length box
  • Enter 10 in the width box
  • Enter 3 inches in the thickness box

The calculator will tell you that you need about 2.5 tons of asphalt. Easy, right?

Understanding the Results

Now, don’t just take the first number and run with it. Double-check if the calculator accounts for compaction. Remember, asphalt shrinks when compacted, so you might need 5–10% more than the calculator suggests.

  • Real-Life Example: My buddy, Jake, used an online calculator that didn’t account for compaction. He ordered exactly 2 tons for his project, but once he compacted it, it wasn’t thick enough

Tons vs. Cubic Yards – What’s the Difference?Some calculators will give results in cubic yards instead of tons. Don’t panic! Here’s a quick conversion:

  • 1 cubic yard of asphalt = About 2.025 tons

So, if your calculator says you need 1.5 cubic yards, just multiply by 2.025 to get about 3 tons of asphalt.

  • Pro Tip: Most suppliers sell asphalt by the ton, so if your calculator gives cubic yards, convert it first to avoid confusion.
How to calculate Asphalt for Circular Driveway

Step 4: Adjust for Waste and Extra Material

So you’ve used an asphalt calculator, which gave you a precise number—maybe 3.2 tons, 4.5 tons, or 6.8 tons. Great! But here’s the thing: you should never order the exact amount the calculator gives you. Why? Because in real life, things don’t always go perfectly.

Think about it:
✔ The ground might not be completely level.
✔ Some areas might need a little extra material.
✔ Spillage and minor mistakes happen.
✔ Asphalt shrinks when compacted—so you might need more than you think.

So, how much extra should you order? Let’s break it down.

Adding a Buffer – The 5-10% Rule. A good rule of thumb is to order 5-10% more than what the calculator suggests.

  • If the calculator says you need 4 tons, order 4.2 to 4.4 tons.
  • If it says 6.5 tons, round up to 7 tons just to be safe.

When to Add More Than 10%. In some cases, you might need even more than 10% extra. Here’s when:

  • If your driveway has a lot of dips, potholes, or uneven surfaces – These areas require more asphalt than you expect.
  • If you’re working with a coarse mix – Some types of asphalt don’t spread as smoothly and may require extra material.
  • If it’s your first time doing DIY asphalt repairs – Mistakes happen. If you’re new to this, give yourself extra room for error.

What Happens If You Order Too Much?. Some people hesitate to buy extra asphalt because they don’t want to waste money. But here’s the deal:

✔ Ordering too much is always better than ordering too little.
✔ Some suppliers allow you to return unused material (check before buying!).
✔ If you have leftover asphalt, you can use it for patching cracks or other repairs later.

Check with Your SupplierBefore finalizing your order, call your asphalt supplier and ask:

  • What type of mix are you selling? Some mixes require more material than others.
  • Do you account for compaction in your estimates? If not, you’ll need extra.
  • Can I return unused asphalt? Some suppliers accept returns, others don’t.

Example: I once bought asphalt from a local supplier who gave me a compaction-adjusted estimate. That meant they already accounted for shrinkage in their calculations, so I didn’t have to add as much extra material. Saved me money and hassle!

Step 5: Buying the Right Type of Asphalt

After knowing how much asphalt you need, the next step is as crucial: choosing the right type of asphalt and getting it delivered on time. Trust me, not all asphalt is the same. If you pick the wrong mix or don’t plan your delivery properly, you could be looking at a disaster.

Just imagine ordering a truckload of asphalt, only to find out it cools down before you even start spreading it. Or worse—you get the wrong type, and your driveway starts cracking in just a few months

So let’s go step by step and make sure you do this right.

1. Choosing the Right Type of Asphalt. There are several types of asphalt, but for driveway repairs, you mainly have to choose between two:

  • Hot Mix Asphalt (HMA) – Best for Large Driveway Repairs
  • What it is: The most common and durable asphalt mix. It’s heated to about 300°F and needs to be applied while hot.
  • Best for: Resurfacing driveways, filling large potholes, or repaving full sections.
  • Pros: Extremely durable, long-lasting, and smooth.
  • Cons: Requires special equipment, and you have to work FAST before it cools.
  • Cold Mix Asphalt – Best for Small Repairs
  • What it is: A pre-mixed asphalt that doesn’t need to be heated. Just scoop it out and press it into cracks or potholes.
  • Best for: Filling potholes and small cracks—NOT full driveway resurfacing.
  • Pros: Super easy to use, works in cold weather, and requires no special tools.
  • Cons: Not as durable as hot mix, and might need reapplying every couple of years.

2. Where to Buy Asphalt. Okay, now that you know what type of asphalt you need, where do you buy it?

Local Asphalt Suppliers – The best place to buy hot mix asphalt. Look for local paving companies or construction suppliers.
Home Improvement Stores (Home Depot, Lowe’s, etc.) – They sell cold mix asphalt in bags, perfect for small repairs.
Asphalt Plants – If you need a lot of asphalt, check out an asphalt production plant near you. They sell in bulk at lower prices.

3. Scheduling Delivery – Timing is Everything!. If you’re using hot mix asphalt, timing is CRITICAL. Why? Because once the asphalt is out of the truck, it starts cooling fast—and if it gets too cold before you spread it, it’s useless.

4. How Much Does Asphalt Cost?. Prices vary depending on location and mix type, but here’s a general idea:

Hot Mix Asphalt:

  • $100 – $200 per ton
  • A typical two-car driveway (500 sq ft, 2 inches thick) needs around 5 tons, so expect to pay $500 – $1000 just for materials.

Cold Mix Asphalt:

  • $10 – $20 per bag
  • Each bag covers about 5-10 square feet. Great for small repairs, but expensive for large areas.
Asphalt Calculator for Driveway Repair

Step 6: Spreading and Compacting the Asphalt Like a Pro

Alright, this is where the real work begins! Getting the asphalt onto your driveway is one thing, but spreading and compacting it correctly is what determines whether your repair lasts two years or twenty.

If you do not focus on this step, your driveway could end up uneven, bumpy, or full of cracks within a few months.

1. Gather Your Tools – Be Ready Before You Start. You cannot afford to waste time once the asphalt is delivered. Hot mix cools down fast, and if you’re slow, it’ll become too stiff to work with. So, make sure you have everything ready before you even start.

Essential Tools for Spreading and Compacting Asphalt

  • Shovels – For scooping and spreading asphalt
  • Rakes – A heavy-duty asphalt rake (also called a lute) helps level the material
  • Wheelbarrows – To move asphalt quickly from the pile to your work area
  • Tamper (Hand or Mechanical) – To compact small patches by hand
  • Plate Compactor or Roller – If you’re working on a larger area, rent a vibratory plate compactor or drum roller for a smoother, professional finish
  • Work Gloves & Safety Gear – Asphalt is HOT, and you don’t want burns!

Pro Tip: If you’re working alone or with a small team, rent a power rake—it makes spreading way easier.

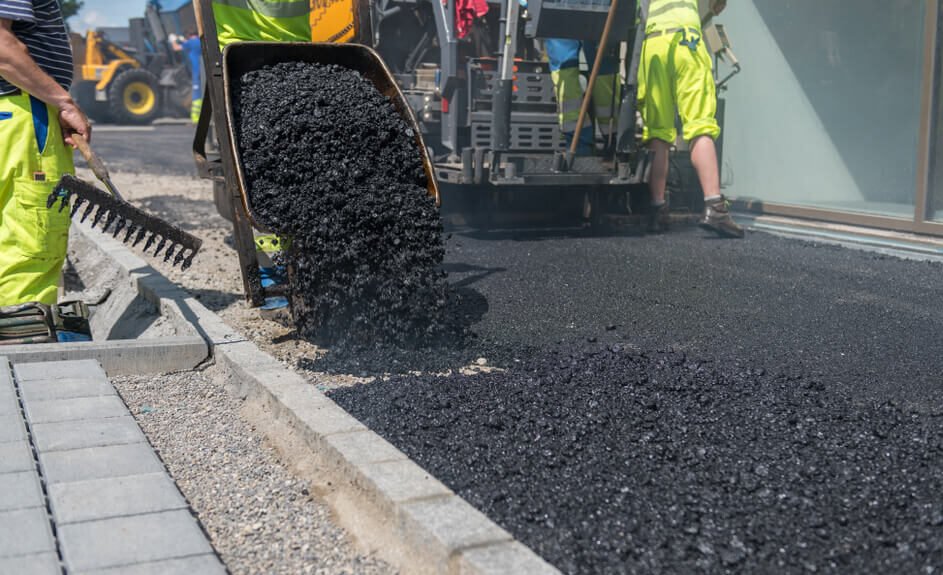
2. Spreading the Asphalt – Work FAST!. Once the hot mix asphalt arrives, it’s time to start spreading. Time is NOT on your side here—you need to move quickly before the asphalt cools.

Step-by-Step Asphalt Spreading Guide

1️⃣ Dump the Asphalt in Small Piles

  • Use a wheelbarrow to move asphalt to the area you’re working on.
  • Don’t dump it all in one spot! Instead, place small piles about 2-3 feet apart—this makes it easier to spread evenly.

2️⃣ Spread It Evenly Using a Rake

  • Use an asphalt rake (lute) to spread the piles evenly across the surface.
  • Work from one side of the driveway to the other to avoid stepping on fresh asphalt.
  • Aim for a slightly higher level than your final surface—compaction will press it down.
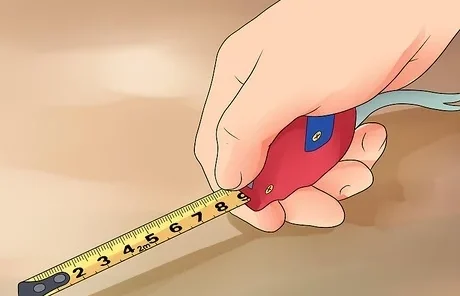
3️⃣ Check for Thickness

  • Use a ruler or measuring tool to ensure your asphalt is the correct thickness (usually 2-3 inches for repairs, 4+ inches for full resurfacing).
  • If it’s too thin, add more. If it’s too thick, rake some off.

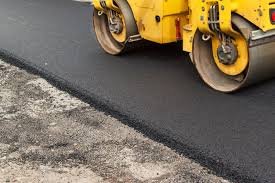
3. Compacting the Asphalt – The Secret to a Long-Lasting Driveway. Compacting asphalt properly is what makes it strong and durable. If you don’t compact it enough:

  • It will remain too loose, leading to potholes and cracks.
  • Water will seep in, causing freeze-thaw damage in winter.

You need to press out all the air pockets and make sure the surface is tightly packed.

Step-by-Step Asphalt Compacting Guide

1️⃣ Start with Hand Tampering for Small Areas

  • For small repairs (like potholes or patches), use a hand tamper to compact the asphalt.
  • Press firmly and repeatedly until the surface feels solid.

2️⃣ 
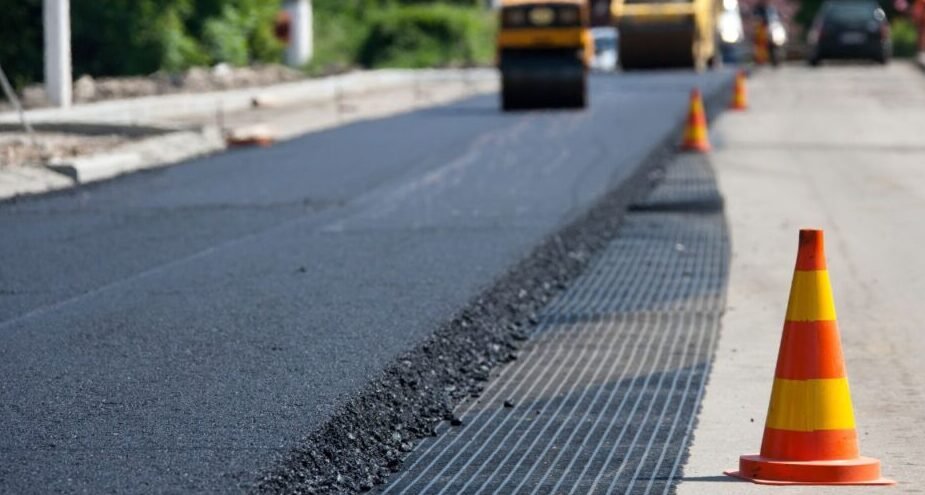
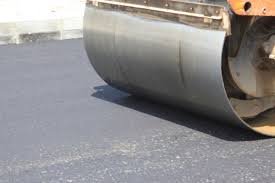
Use a Plate Compactor or Roller for Larger Areas

  • If you’re covering a large area, rent a plate compactor (for small driveways) or a drum roller (for big driveways).
  • Go over the entire surface multiple times, moving in overlapping passes to avoid uneven spots.
  • Keep compacting until the asphalt looks smooth and firm.

4. Creating a Smooth Finish. Once you’ve compacted everything, it’s time for the final touches to make sure your driveway looks great.

✔ Check for any low spots – If you see dips or uneven areas, add more asphalt and compact again.
✔ Make sure the edges are firm – Use a rake to push extra asphalt to the sides, then compact it so it doesn’t break apart.
✔ Keep traffic off the driveway – Avoid driving on the new asphalt for at least 24-48 hours to let it set properly.

Real-Life Example: A guy in my neighborhood let his kids ride bikes on his freshly laid asphalt the same day—huge mistake! The wheels left deep marks, and he had to redo the whole section. Let it set before using it!

5. Dealing with Cold Weather or Windy Conditions. Working in cold or windy weather? Here’s how to avoid problems:

Cold Weather Fix:

  • Work in small sections so the asphalt doesn’t cool too quickly.
  • Use heated blankets or tarps to keep the material warm before spreading.

Windy Weather Fix:

  • Start on the upwind side so wind doesn’t dry out the asphalt too fast.
  • Spray a light mist of water if the asphalt looks too dry before compacting.

6. Final Checks – Make Sure You Did It Right

🔲 Is the asphalt smooth and level?
🔲 Did you compact it thoroughly? (No loose spots or air pockets)
🔲 Are the edges well-packed? (They should be firm and not crumbling)
🔲 Did you avoid stepping or driving on it too soon?

If you’ve checked all these boxes, congratulations! You’ve just successfully repaired your driveway like a pro.

Key Takeaways

Spread asphalt evenly and check thickness as you go.
Work fast—hot mix cools quickly!
Compact thoroughly—air pockets cause cracks later.
Avoid walking or driving on it for at least 24-48 hours.
Check for uneven spots and touch up if needed.

Now that your asphalt is down, there’s just one final stepsealing and maintaining your driveway to keep it looking fresh for years. Let’s finish this project strong!

Leave a Comment

Your email address will not be published. Required fields are marked *

Scroll to Top