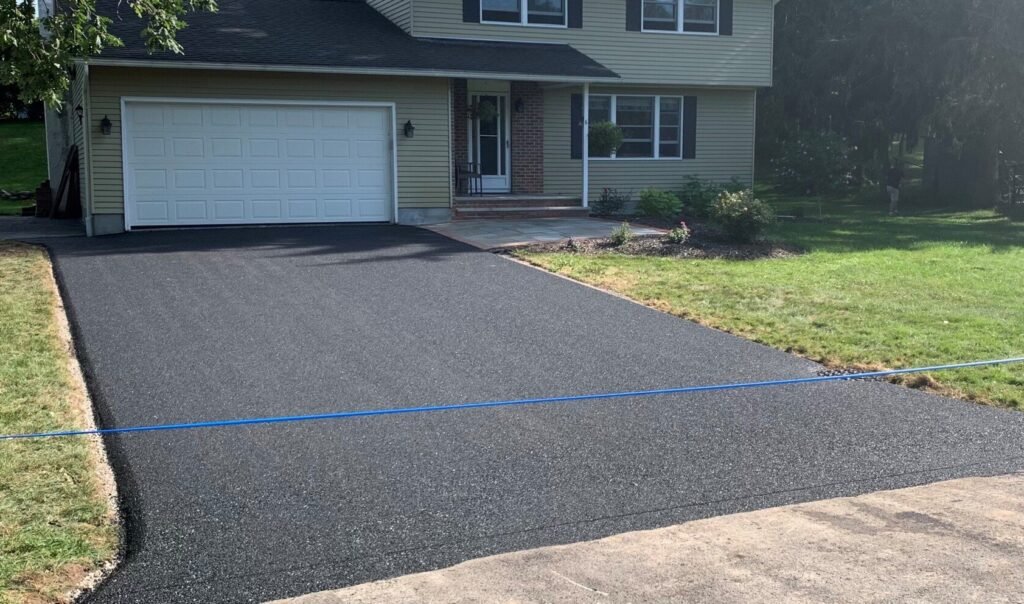
Asphalt is a versatile material used for paving driveways, walkways, and small parking lots. If you’re a homeowner or small business owner, a DIY asphalt project can be an affordable and rewarding way to improve your property. This guide will help you learn the steps, tools, and considerations which one can use in understanding “How to complete a DIY Asphalt project”
What is a DIY Asphalt Project?
A DIY asphalt project involves laying asphalt yourself instead of hiring professionals. This is ideal for smaller-scale jobs like:
- Resurfacing a driveway.
- Creating a basketball court in your backyard.
- Fixing potholes in a private road.
By taking on the project yourself, you can save money, control the pace of the work, and achieve a sense of accomplishment
Tools and Materials You'll Need
Before you begin, gather the right tools and materials to ensure a smooth process.
Materials:
- Asphalt Mix: Choose between hot mix asphalt (better for durability but harder to handle) or cold mix asphalt (easier for DIY projects but less durable).
- Sub-Base Material: Gravel or crushed stone to form a solid foundation.
- Sealant: Protects the asphalt surface from water and UV damage.
Tools:
- Measuring tape for accurate dimensions.
- Shovels and rakes for spreading asphalt evenly.
- Wheelbarrow for transporting materials.
- Plate compactor or roller to compact the asphalt.
- Asphalt tamper for finishing edges.
- Safety gear: gloves, goggles, and durable boots.
Step-by-Step Guide to DIY Asphalt Projects
Follow these steps to complete your asphalt project with professional-level results:
- Measure and Plan
- Measure the length, width, and thickness of the area you want to pave.
- Use an asphalt calculator to determine how much material you’ll need.
Example: For a 20 ft × 10 ft driveway with a thickness of 2 inches, input these values into the calculator to get an estimate of asphalt volume and weight.
- Prepare the Site
- Remove existing grass, debris, or old pavement.
- Level the area and ensure proper drainage by sloping the surface slightly.
- Add a gravel base (at least 4–6 inches thick) for a strong foundation.
- Lay the Asphalt
- Heat the asphalt mix if using hot mix asphalt.
- Spread the mix evenly using a rake, ensuring the surface is flat.
Pro Tip: Work in small sections to avoid the asphalt cooling and hardening before you can compact it.
- Compact the Surface
- Use a plate compactor or roller to compact the asphalt layer.
- Focus on achieving a smooth, even finish.
- Seal and Finish
- Allow the asphalt to cure for 24–48 hours.
- Apply a sealant to protect the surface from weather and wear.
Pros and Cons of DIY Asphalt Projects
Advantages:
- Cost-Effective: Save on labor costs.
- Customizable: Work at your own pace and adjust the design as needed.
- Satisfaction: Completing the project yourself is rewarding.
Disadvantages:
- Time-Consuming: Requires significant effort and time.
- Specialized Tools Needed: Equipment like compactors may need to be rented.
- Risk of Mistakes: Inexperience can lead to uneven surfaces or poor compaction.


Should You DIY or Hire a Professional?
DIY projects are best for smaller, less complex areas. For larger projects, such as commercial parking lots or roads, hiring a professional ensures durability and proper execution.
DIY: Great for small driveways, walkways, or pothole repairs.
Professional Help: Recommended for large-scale paving or resurfacing projects that require advanced skills and equipment.
