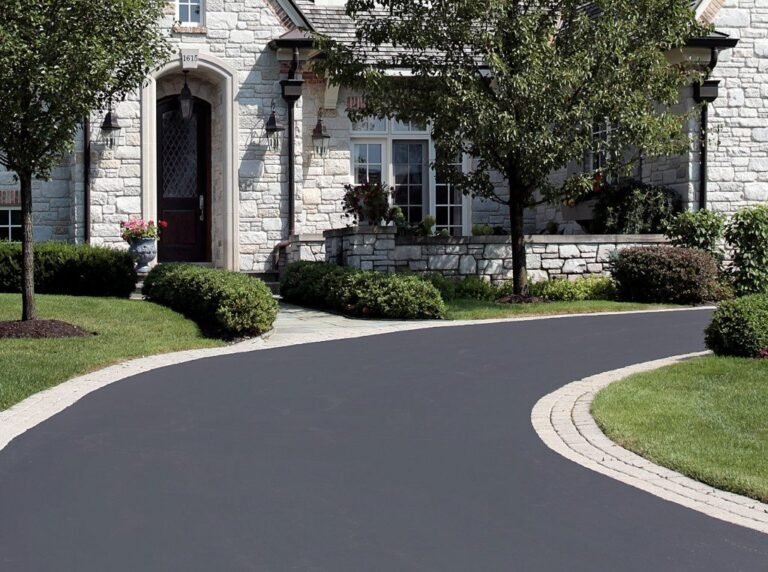
Planning DIY Asphalt Walkway: A Step-by-Step Guide

Adding a DIY asphalt walkway to your property can enhance curb appeal, improve accessibility, and provide a durable surface for foot traffic. While larger paving projects are often best left to professionals, a straightforward walkway can be a manageable DIY asphalt project for homeowners with the right planning, tools, and attention to detail. This guide will walk you through the essential steps for planning your asphalt walkway, from initial design to material estimation.
Step 1: Design and Layout
Before you break ground or order materials, careful planning is crucial. Consider the following:
Key Planning Considerations
- Purpose and Path: Where will the walkway start and end? Is it purely functional (e.g., connecting the driveway to the front door) or also aesthetic? Sketch out the desired path, considering existing landscaping, slopes, and potential obstacles.
- Width: A standard walkway width is typically 3 to 4 feet (36-48 inches). This provides a comfortable space for one or two people to walk side-by-side. Measure and mark the intended width clearly.
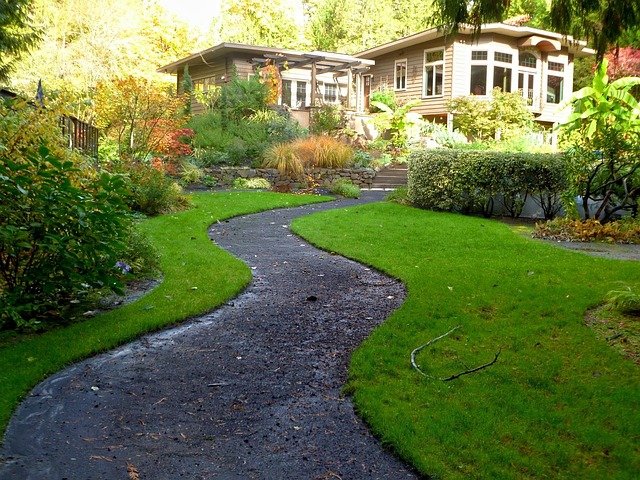
- Shape: Will it be a straight path, curved, or have angles? Curves require more careful formwork during installation.
- Slope and Drainage: Ensure the walkway has a slight slope (at least 1/4 inch per foot, or about 2%) away from structures and towards a suitable drainage area. Proper surface drainage prevents water pooling, which can damage the asphalt over time.
- Local Regulations: Check with your local municipality or homeowner association (HOA) regarding any permits required or regulations concerning walkway placement, materials, or dimensions.
Use stakes and string lines, or marking paint, to clearly outline the exact location and dimensions of your planned walkway on the ground. This visual guide is essential for excavation and form setting.
Step 2: Site Preparation and Excavation
Proper site preparation is fundamental to the longevity of your asphalt walkway. This involves creating a stable base.
Site Preparation Steps
- Remove Obstacles: Clear the marked path of any grass, weeds, rocks, roots, or debris.
- Excavation: Dig out the area for the walkway base. The required excavation depth depends on your climate and soil type, but a common depth is 6 to 8 inches. This allows for 4 to 6 inches of compacted aggregate base material and 2 to 3 inches of compacted asphalt.
- Level and Slope: Ensure the excavated area is relatively level but maintains the slight slope needed for drainage. Use a level and measuring tape to check the grade.
- Compact the Subgrade: Once excavated, thoroughly compact the underlying soil (the subgrade) using a hand tamper for small areas or a plate compactor for longer walkways. A stable, compacted subgrade prevents settling later on.
Step 3: Installing the Base Material
A solid aggregate base provides structural support for the asphalt and aids drainage. Crushed stone or gravel (like crusher run or Class 5 gravel) is commonly used.
Base Installation Process
- Add Base Material: Fill the excavated area with the aggregate base material in layers (lifts) of 2-3 inches.
- Compact Each Layer: Thoroughly compact each layer using the plate compactor. Proper base compaction is critical; aim for maximum density to create a firm, stable foundation.
- Check Final Grade: Ensure the final compacted base layer is smooth and maintains the correct slope for drainage. The top of the base should be about 2-3 inches below the desired final walkway height to accommodate the asphalt layer.
Step 4: Setting Forms (Optional but Recommended)
While not always strictly necessary for a simple walkway, setting forms (using flexible hardboard, lumber, or specialized landscape edging) along the sides can help:
- Maintain clean, defined edges
- Ensure consistent asphalt thickness
- Make leveling (screeding) the asphalt easier
Secure the forms firmly in place with stakes.

Step 5: Calculating Asphalt Material Needs
Accurately estimating the amount of asphalt needed is crucial for a DIY project. You can purchase hot mix asphalt (HMA) from a local plant (requires careful handling and quick work) or use cold patch asphalt products available in bags from home improvement stores (easier for smaller DIY projects but may be less durable long-term).
Volume Calculation Steps
- Measure: Get the precise Length (L) and Width (W) of your walkway in feet.
- Determine Thickness (T): Decide on the desired compacted asphalt thickness in inches (typically 2-3 inches for a walkway).
- Calculate Volume: • Convert thickness to feet: T (ft) = T (in) / 12 • Volume (cubic feet) = L (ft) x W (ft) x T (ft)
- Convert to Tons (for Hot Mix) or Bags (for Cold Patch): • Hot Mix: Asphalt density varies, but a common estimate is around 145-150 pounds per cubic foot. Volume (cubic feet) x Density (lbs/cubic foot) / 2000 = Tons needed. Always add a small buffer (5-10%) for waste. • Cold Patch: Bagged products usually state their coverage area (e.g., square feet at a certain depth). Calculate your walkway area (L x W) and divide by the bag coverage, adjusting for your desired thickness.
Using an Online Calculator
For ease and accuracy, use a reliable asphalt calculator tool. Input your dimensions (length, width, thickness), and it will estimate the required tonnage or volume, simplifying the material estimation process.
Our Most Popular Calculator Categories
Step 6: Gathering Tools and Safety Gear
Ensure you have all necessary tools and safety equipment before starting the asphalt installation:
Required Equipment
- Safety Gear: Heat-resistant gloves, safety glasses, sturdy boots, long pants
- Tools: Wheelbarrow, shovels, asphalt lute or rake, level, hand tamper or plate compactor, forms (if used), stakes, hammer, measuring tape, string line/marking paint
- Optional: Propane torch (for smoothing edges or seams with hot mix), release agent (to prevent asphalt sticking to tools)
Step 7: Installation and Compaction (Brief Overview)
Detailed installation is beyond the scope of this planning guide, but the basic steps involve placing the asphalt, spreading it evenly using the lute/rake to the desired thickness and slope, and compacting it thoroughly while it is still workable. Compaction is key to durability.
Key Takeaways
- Plan Thoroughly: Accurate measurements, clear layout, and proper slope design are essential first steps.
- Prepare the Base: Excavation and a well-compacted aggregate base are critical for walkway longevity.
- Calculate Materials Carefully: Use precise measurements and an asphalt calculator to estimate needs accurately.
- Safety First: Always use appropriate safety gear when working with asphalt materials.
- Compaction is Crucial: Whether using hot mix or cold patch, thorough compaction ensures a durable surface.
Frequently Asked Questions (FAQs)
Q: Can I really lay an asphalt walkway myself?
A: For smaller, straightforward walkways, it is possible with careful planning and the right tools. However, it is labor-intensive, and working with hot mix asphalt requires caution and speed. Cold patch is generally easier for DIYers but may not last as long.
Q: How thick should my asphalt walkway be?
A: A compacted thickness of 2 to 3 inches is typically sufficient for pedestrian foot traffic.
Q: What is the best base material for an asphalt walkway?
A: A well-graded crushed aggregate base (like crusher run or Class 5 gravel), compacted to a depth of 4-6 inches, provides excellent support and drainage.
Q: How long does a DIY asphalt walkway last?
A: Durability depends heavily on base preparation, asphalt quality, compaction, climate, and maintenance. A well-installed walkway using quality materials can last many years, but DIY results can vary. Regular sealcoating can extend its life.
By following these planning steps, you can set the stage for a successful DIY asphalt walkway project, adding both function and value to your property.